

MachineryLink
Ask the Mechanic: Tight Bale Problem

DTN/The Progressive Farmer's Ask The Mechanic Columnist Steve Thompson answers readers' mechanical questions. You can read Steve's columns every month in The Progressive Farmer's digital edition (click on the "Resources" tab to find the magazine and inside, Steve's Ask The Mechanic columns).
If you have any questions for him, you can contact Steve at: Steve Thompson at Ask The Mechanic, 2204 Lakeshore Dr., Suite 415, Birmingham, AL 35209, or email: mechanic@progressivefarmer.com.
P[L1] D[0x0] M[300x250] OOP[F] ADUNIT[] T[]
Here are Steve's answers to two questions recently submitted by readers:
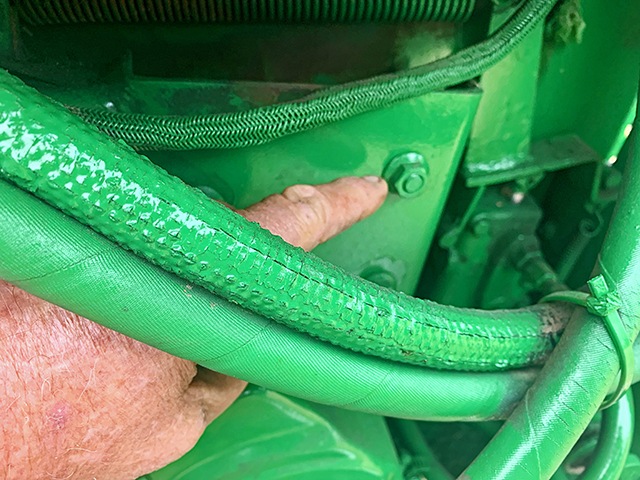
READER: I have an older John Deere round baler, Model 430. I have had it for years and had little trouble with it. I needed to change the pump drive belt, and it went on with little problem after I removed the plate in front of it. When I went to the field to bale, the tying arm started moving before the full bale was formed. I checked everything that I did, and it seems that everything is back as it was. Can you help me?
STEVE: A ton of these older John Deere balers are still out there doing a good job in the field. The 430, 435, 530 and 535 were part of the beginning of the "tight bale" contest among baler manufacturers. The hydraulic pump that runs the tying system is run by a belt, and the belt, along with about five other springs, all must be in place and of proper strength and length for the baler to tie correctly. So, many times when the support is removed to replace the belt, the adjustment that allows the hammer latch to be pulled down over its stop is not checked. To check this adjustment, open and close the gate, and look at the latch and make sure it came down over the arm of the support. I bet you will find that the latch is resting on top of the support rather than down and locked over it. All you need to do is loosen the three cap screws you removed that hold the support and tap the support forward, which will allow the latch to rest down over the support after the gate is closed and the tying system is reset.
**
READER: I am in the process of changing my 8N Ford tractor to a 12-volt system. The tractor has a side-mounted distributor. I have asked several people exactly how to install the battery and how the wires go to the coil. I seem to get mixed answers. Can you give me that information?
STEVE: I get many questions about this 6-volt to 12-volt conversion, and it is a little confusing. One reason for the confusion is that many older 6-volt tractors and cars came from the factory as 6-volt and a positive ground. It was believed that when the positive post was grounded to the frame, it caused more corrosion than if it were grounded as negative. So, the change was made. Another reason for the change surfaced when the alternator came into play on vehicles. The alternator will charge at much slower engine speeds, but it will not charge if the system is positive ground. The alternator is sort of neat because it will charge no matter which way it is turning, which makes it very flexible. A generator will charge turning only one way. So, here is the way to make the conversion work on your 8N: Change the battery to a 12-volt. You can get one the size of your old 6-volt. Change the polarity of the battery to negative ground. The wires on the coil need to be reversed. The hot wire to the positive (+) and the negative (-) side to the distributor. You can use the 6-volt starter. Which alternator you choose (three-wire or one-wire) will make a difference in alternator wiring. One more thing: You will need to either place a resistor between the switch and the coil to drop the voltage, or replace the 6-volt coil with a 12-volt coil. I recommend replacing the coil with a 12-volt internal resistor coil.
(c) Copyright 2021 DTN, LLC. All rights reserved.
Comments
To comment, please Log In or Join our Community .