MachineryLink
Planter Maintenance Tips to Help Boost Your Corn Yield
Lack of stand uniformity in corn is costly, particularly when seeding depth, spacing and soil-to-seed contact are at the root of the problem.
North Dakota State University researchers and Extension agents studied stand variability. Their findings showed even within a planter width, the most variable row yielded up to 9 bushels per acre (bpa) less than the least variable row.
"The most common cause of variability in this study was emergence date and not skips and doubles," explained NDSU Extension Agronomist Joel Ransom. "Skips when they did occur, of course, were the most impactful on yields, but they were followed closely by plants emerging 11-17 days after the earliest emerging seedlings."
A study of 96 farms across the United States and Canada concluded yield losses due to non-uniform plant spacing could amount to 4 bpa per inch of standard deviation improvement (spacing). Oft-quoted USDA studies indicate a planter delay in seed drop of 1/25 of a second can cause seed to be 3 1/2 inches off proper spacing, and that can often be traced to excessive planting speed, worn drive chains and idlers and poorly maintained seed meters.
John Long, an agricultural engineer at Oklahoma State University said gambling with expensive seed and the potential of significant yield losses because you haven't spent the time making sure your planter is in top shape is a good way to lose money.
P[L1] D[0x0] M[300x250] OOP[F] ADUNIT[] T[]
"Proper adjustment of planting equipment, whether you are a conventional grower or a no-tiller, is far more important than adding attachments," he explained to his Southern Plains cooperators. "That means checking wearable parts, adjusting for and maintaining a level ride for your planter, taking pains to ensure proper planting depth in a variety of conditions, and applying adequate downforce for good seed-to-soil contact."
Phil Needham, a long-time farm consultant and planter specialist with Needham Ag Specialties, LLC in Calhoun, Kentucky, said winter or pre-season planter maintenance must be a systematic, "front of the machine to the back" maintenance exercise. Following are Needham's tips of what to check and recommendations for tuning your planter.
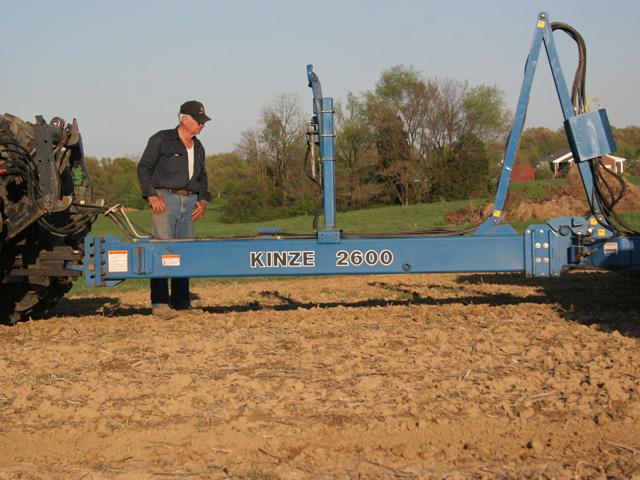
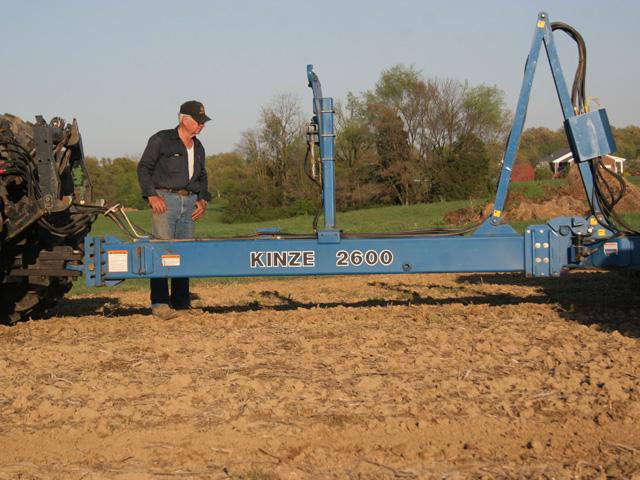
-- Level. Make certain the planter is level from front to back and side to side. Take the planter to the field to ensure level. The drawbar and tongue should be level to slightly higher at the front than the back. This configuration allows the parallel linkage to work properly and the closers to do their job gathering. If the closing wheel arm droops downward toward the back, you won't get adequate closing because you'll lose gathering action. The leveling procedure is a good time to make certain tire pressure is correct and that side-to-side leveling is "bubble on," assuming you're working in a level field.
-- Cleaners. Most growers benefit from well-maintained floating row cleaners, which turn freely, and travel up and down to efficiently clear the way for the disc openers. Check the row cleaners before you check the parallel arm linkages.
-- Play. Parallel arms are designed to maintain the row units in proper relation to the soil under varying field topography and soil conditions. The best way to check their operating efficiency is to jack them up with a floor jack to a horizontal position and wiggle them side-to-side. If there is significant play in the pins and bushings, you'll have erratic seed placement as the row unit pitches forward to rear and side to side.
-- Openers. Generally double disc openers require replacement when they lose a half an inch of their original diameter, or if they've become dull -- whichever comes first. When you replace disc openers, be sure the tension is set to manufacturer's recommendations. Most need 2-3 inches of contact, but the owner's manual will provide the exact specification. Usually the thicker the blade the less contact is required, but as thickness and diameter change, so do the contact distances.
-- Tube. Check the seed tube protector, the steel insert that holds the double-disc openers apart. Most have a wear detector, and different planters have different set-up widths. Compare the seed guard with a new one for guidance to how much wear is showing. If the seed tube protector is worn, chances are good the seed tube is getting thin in spots. Pull it out and inspect it for wear or abrasion from double-disc openers.
-- Bearings. Check disc blade bearings by wiggling the disc openers to make sure hubs are firmly attached to the disc and that there is no lateral wear or play.
-- Wheels. If you can move gauge wheel arms from side to side they should be tightened or replaced. Check for wear or cracking of rubber on the gauge wheels, and be certain bearings are good and that the wheel fits tightly into its socket.
-- Meters. Check the seed meters for mechanical wear. Growers using finger pickup meters should have them tested and adjusted by professionals on a factory-approved test stand. Take the seed you plan to use so the pros can calibrate the meters for what you will be planting.
-- Closing. Check the closing wheel arms to be sure they are centered directly over the row. Use what adjustments are available to ensure the closing wheels run accurately over the center of the row. All parts wear, and if there is play in the closing wheels or arms, replace them. Closing wheels need to be selected based on conditions in which they will be running. Growers need to be aware certain conditions may require one configuration, and others will require something else. Be flexible and be attuned to differences in field moisture conditions and tillage practices.
-- Close Up. Do a walk-around of the planter looking for hydraulic leaks, cylinders seeping off, worn or frayed electrical connections and wiring. Raise the planter to see if the hydraulics bleed down. Check chains for condition and free movement and lube them thoroughly. Remember drive chains need to be lubed twice a day during planting to keep them clean and wear free, and transferring power properly.
(c) Copyright 2022 DTN, LLC. All rights reserved.


Comments
To comment, please Log In or Join our Community .